
The practical guide
From download to your next lesson.
A simple routine for choosing a printable, checking the files and preparing an activity that works for your learners.
1. Choose the activity before you print
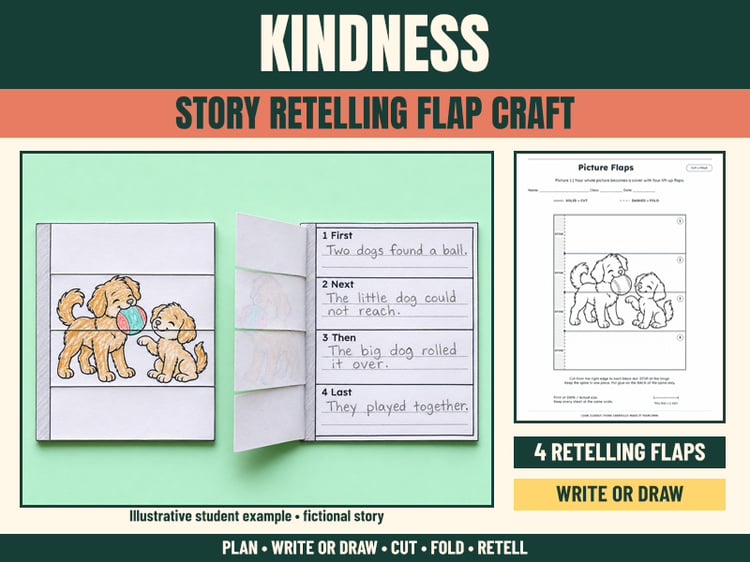
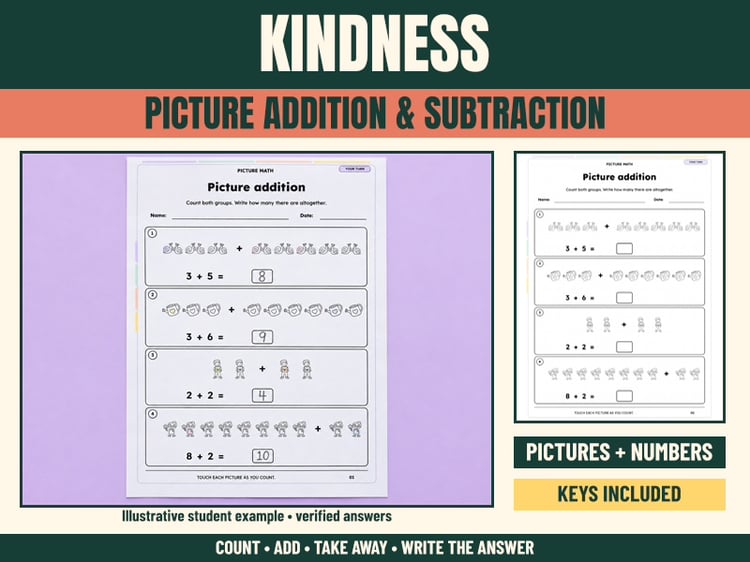
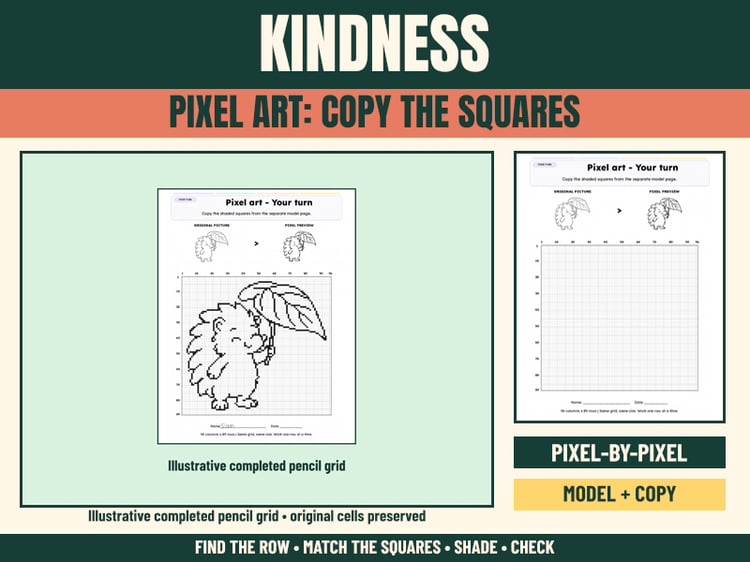
Open the product page and review its images and description. Look for the skill or task you want learners to practise, the included pages, the file format and any preparation notes. A cover shows the theme; the preview helps you understand what learners will actually do.
Check the reading and writing demands against your group. A resource can be a starting point for a short lesson, independent practice or a hands-on extension, depending on its instructions.
2. Download and keep your files together
After checkout, Payhip provides access to your purchased files and emails a receipt containing the download link. Save the files somewhere you can find again, such as a folder named for the activity.
Open a PDF with a compatible PDF reader. If a product includes a ZIP archive, extract it first and read any instructions inside. File formats vary, so follow the details on the product page.
Missing the receipt? Check spam and promotions, and confirm that you are checking the email address used at checkout. If you still cannot find it, contact us with your order email and resource name.
3. Print one test copy
Read the supplied printing instructions before printing a full class set. Match the paper size shown in the resource. Use the stated scale; if a template requires exact dimensions, avoid automatic scaling unless its instructions tell you otherwise.
- Preview the print job and choose only the pages you need.
- Check orientation, paper size and single-sided or double-sided printing.
- Inspect the first copy for missing edges, readable text and usable writing space.
- For a cut-and-assemble craft, test how the pieces fit before making more copies.
Print settings and results depend on your printer. The instructions supplied with a specific resource take priority over this general guide.
4. Prepare the materials and model the task
Gather the materials listed with the activity. These might include pencils, colouring materials, scissors or glue, depending on the resource. Demonstrate one example, explain the sequence and give learners a clear stopping point.
For writing activities, talk through the prompt before learners write their own response. For a craft, show the folding or assembly order. For a visual puzzle, model how to read the instructions without completing the whole task for the group.
5. Finish with a conversation
Invite learners to explain a choice, share a sentence or describe what they noticed. Use a short reflection to connect the printed activity with your lesson goal. Display finished work or keep it in a learning folder when that suits the task.
Keep the original digital files for your own permitted use. Follow the licence included with the product before sharing materials outside your class or household. More practical answers are on our FAQ page.
Find an activity that fits your next lesson.
Browse teaching resources →